
Common Mistakes to Avoid When Using Auto Content WordPress Plugins
May 29, 2024
The Future of Content Creation: What Role Will Auto Content WordPress Plugins Play?
May 29, 2024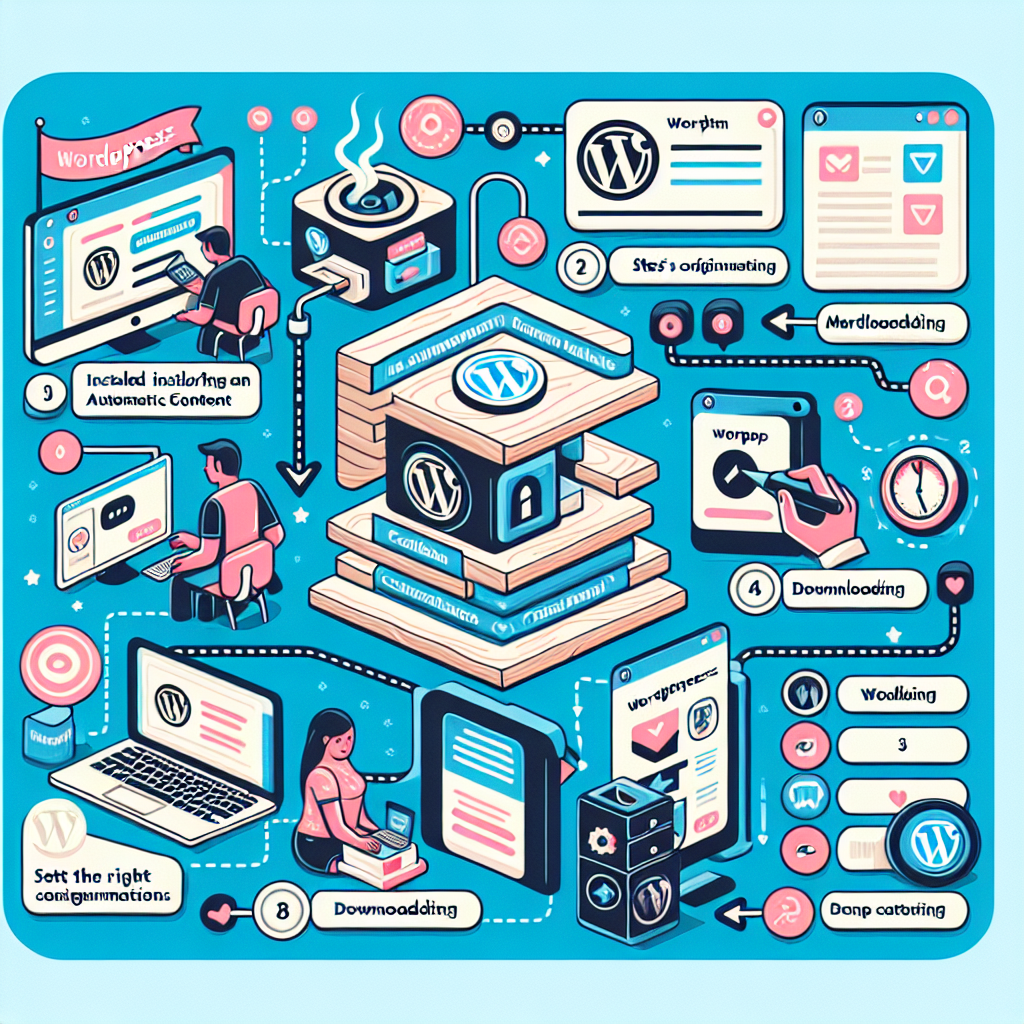
Are you looking to increase your income through your WordPress blog by generating more content and engaging with your users? One way to do this is by installing and configuring an auto content plugin. These plugins can help you automate the process of creating new blog posts, saving you time and effort.
Here is a step-by-step guide to installing and configuring an auto content plugin on WordPress:
- Choose a reputable auto content plugin from the WordPress Plugin Directory. Some popular options include WP Auto Content, Auto Post Scheduler, and WP RSS Aggregator.
- Download the plugin zip file to your computer.
- Login to your WordPress dashboard and navigate to Plugins > Add New.
- Click on the “Upload Plugin” button at the top of the page.
- Select the plugin zip file from your computer and click “Install Now.”
- Once the plugin has been installed, click on “Activate Plugin” to enable it on your site.
- Navigate to the settings page for the auto content plugin. This is where you can configure how often new content is generated, which sources are used, and any other customization options.
- Set up any necessary API keys or authentication credentials for accessing external content sources.
- Create rules for how new content should be generated, such as selecting specific keywords or categories to focus on.
- Schedule when new content should be published on your site. This can help ensure a consistent posting schedule that keeps users engaged with your blog.
By following these steps, you can start using an auto content plugin to generate new blog posts automatically, freeing up more time for other tasks like promoting your site or engaging with users on social media. Additionally, regularly updating your site with fresh content can improve its SEO performance and attract more visitors over time.
We hope this guide has been helpful in getting you started with an auto content plugin on WordPress. If you have any questions or need further assistance, feel free to reach out to us for support!

